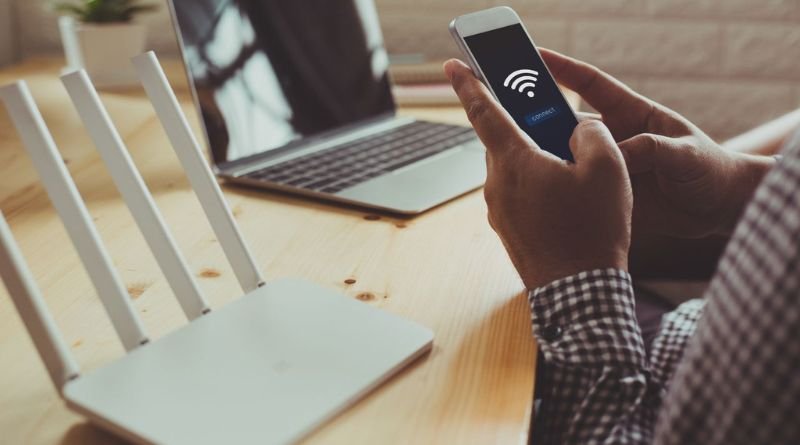
3 Steps to Setting Up a Mobile Hotspot with Windows 10

Have you recently installed Windows 10 on your computer, but it doesn’t have an internet connection? Don’t worry; you don’t need to plug in any cables to get online with this new version of Windows. You can use your phone as a mobile hotspot and connect to the internet through it. Here are the steps to setting up a mobile hotspot with Windows 10…
Step 1: Connect your wireless network adapter
Connect your wireless network adapter to your laptop, making sure the driver software is already installed. Insert the CD that came with your adapter and follow the on-screen instructions. Make sure you have an internet connection before continuing. Enter your password if prompted.
The windows will load onto your screen. Select Set up my new hotspot from the list of options. A pop-up window will appear; select Next.
In the next window, enter a name for your hotspot and confirm it by selecting Next. You can also change any other settings in this window but make sure to read through them carefully as you might not want them changed or could be breaking important settings on accident without realizing it!
Step 2: Open Control Panel
Type Control Panel into the search bar, then press enter. In the Control Panel, click on Network and Internet. Now find your wireless connection, right-click it, and select See details. At the bottom of this window will be a button labeled Connection Properties. Click on that button. On the left side of this window should be an option called Wireless Properties, which you can now click on.
You should now see options for creating a hotspot near the top of this screen. Just make sure Create a Wi-Fi network is selected, and then type in whatever name you want your new hotspot to have. For the Network name (SSID) just type whatever you want. When you’re done, hit Save. Your device will now show up as having two connections: one from your Ethernet port and one from the Wi-Fi network we just created.
Step 3: Set up internet sharing on your device
1. To set up internet sharing on your device, right-click the wireless connection icon in the system tray at the bottom right corner of your desktop screen.
- Then click Properties. You should see a dialog box that has 3 tabs: General, Sharing, and Security. You want to go over to the Sharing tab.
3. Under Share your Internet connection you’ll see an option called Show options for different connections. Check this option and select the appropriate Ethernet or Wi-Fi network. Underneath that, make sure to Allow other network users to connect through this computer’s Internet connection is checked off as well as Allow other network users to control or disable the shared Internet connection.


